
Peel and stick kitchen backsplash tiles have been growing in popularity, so it’s time you learned about the benefits of using this product over the more traditional ceramic tile backsplashes. Here are five reasons why you might consider going with peel and stick kitchen backsplash tiles instead of the conventional kind.
What You’ll Need
You’ll need an adhesive for the peel and stick backsplash tiles. Make sure you read the directions carefully, so you know how long you have before installing the tiles. If they are not made with a self-adhesive backing, you will also need some construction adhesive like Liquid Nails or Tile Bond Adhesive.
Preparing the Surface
To prepare the surface for peel and stick backsplash tiles, you will need to thoroughly clean the area. Then use some painter’s tape to mask off any areas that are not going to be tiled, such as the walls above or below the backsplash area. For the best adhesion, you should paint or prime your wall first.
The next step is cutting out your peel-and-stick backsplashes from their backing sheet with either scissors or a utility knife. Finally, apply pressure evenly across each tile with your fingers (one at a time) starting at one end of the row and working your way across until all of them have been installed. check more about Kohler kitchen sink
Measuring and Cutting the Tiles
Start by measuring your backsplash area. Measure the height, width, and depth of the area you want covered with peel and stick tile. Add an inch or two if you want to allow for error in cutting. Mark the measurements on the back of the vinyl tiles as you go so that you can use them as a guide for when it’s time to cut them into pieces. If using composite tiles, measure the length and width of each piece.
Applying the Tiles
The best way to apply your peel and stick backsplash is by using the interlocking method. This method will help you get the best coverage for your backsplash without any gaps or overlaps.
- Start by applying one piece of tile at the top left corner of the wall, then another piece on top of it, overlapping slightly.
- Repeat with every row until you reach the bottom of the wall, then place one last tile over that row.
- Once you have completed this step, find all three edges of each piece that is sticking out over the edge of your surface and cut them off with a utility knife so they are flush with your wall’s surface. 4) Next, use an adhesive caulk to fill any small gaps around your tiles where they meet the walls. You can also use silicone sealant which should be easier to remove later if necessary. Wait 24 hours before moving on to the next step.
- Starting from one end of the wall, take a damp cloth and wipe down the entire area where your tiles meet the walls to clean up any excess adhesive caulk or silicone sealant that may have spilled onto them from installation (this will help prevent discoloration).
Finishing Touches
There are two major ways of installing peel and stick backsplash tiles. One is the traditional method of cutting them with a cutter, but this can be time-consuming and you will need to purchase extra tiles. The other option is using an adhesive that is applied directly onto the wall before placing the tile on it. The adhesive will allow you to place your tiles at any angle, which can give your kitchen more of a modern feel. check more about Kohler bidet toilet
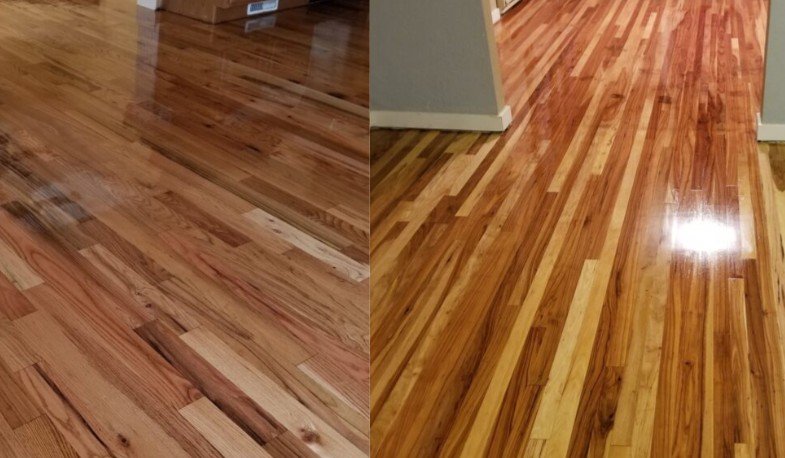
Peel-and-stick vinyl tile has been around for years, but now peel-and-stick composite tile has become popular as well for its high gloss 3D appearance. Below are some guide things you need to know when buying these types of peel-and-stick backsplash tiles Read more